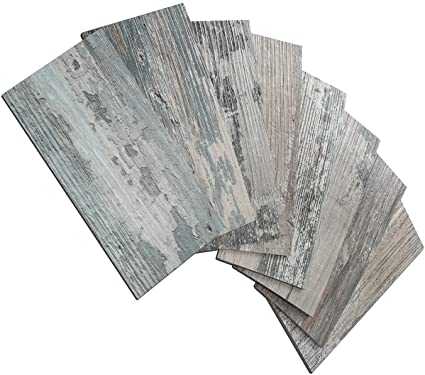
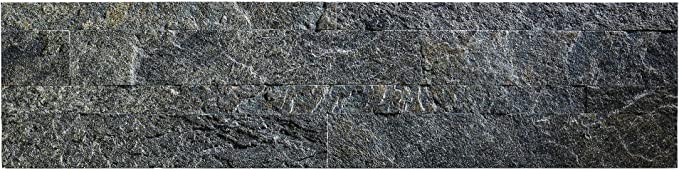
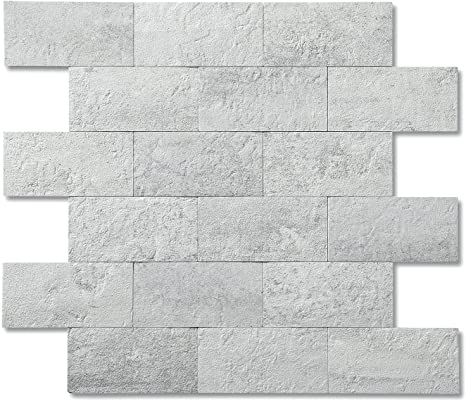
OYASIMI 10-Piece Stone-Look Peel & Stick Backsplash Tile, 11.85×11.89-Inch
Last updated: May 9, 2022
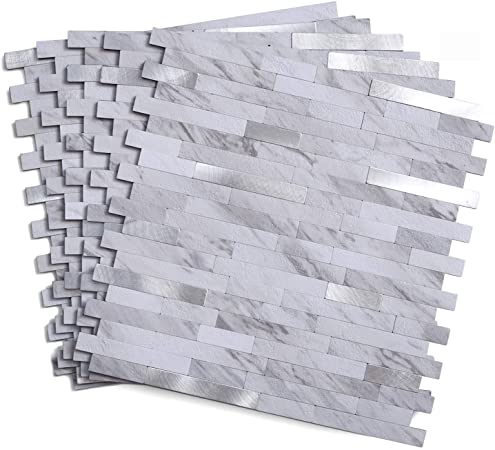
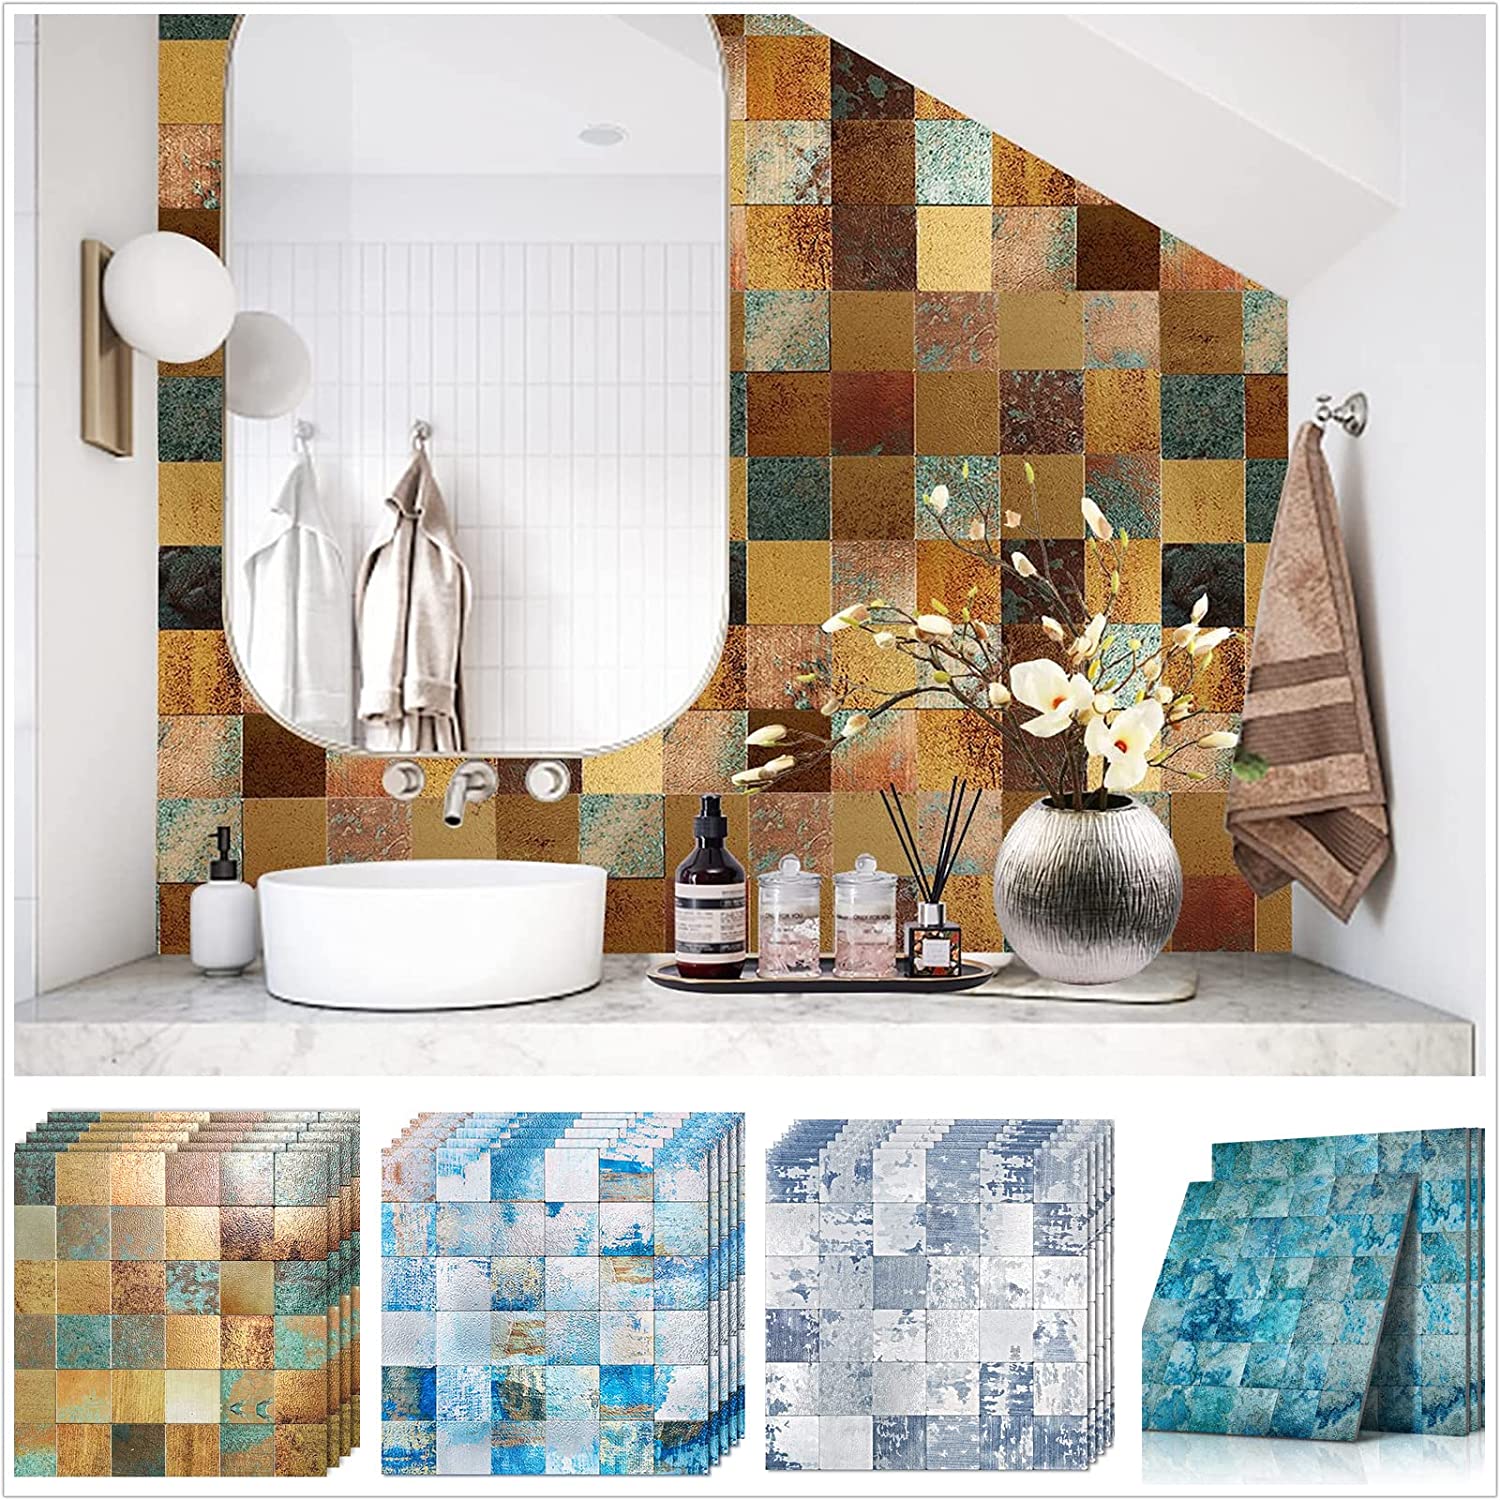
These peel and stick tiles come in five classic stone colors including beige, white and three gray shades. You don't have to worry about them being hard to clean or getting damaged from liquids that splash.
We looked at the top Peel & Stick Backsplash Tiles and dug through the reviews from some of the most popular review sites. Through this analysis, we've determined the best Peel & Stick Backsplash Tile you should buy.

Product Details
Key Takeaway: These tiles are a great choice when you want to create the appearance of a stone wall without a lot of effort.
In our analysis, the OYASIMI OYASIMI 10-Piece Stone-Look Peel & Stick Backsplash Tile, 11.85x11.89-Inch placed 3rd when we looked at the top 10 products in the category. For the full ranking, see below.
From The Manufacturer
UNIQUE DESIGN: OYASIMI peel and stick backsplash has real texture with eye catching PVC nature stone or wood look , but much lighter in weight DURABLE AND STRONG: the tiles feature color fadeless ,waterproof, heat and impact resistance, specially designed for kitchen island wall , steamy bathrooms and interior floors. EASY TO MAINTAIN : easy to wipe the stains with a damp cloth and soapy water, protect the walls from oil SELF STICK TILES: strong adhesive tile, just peel and stick ,No more messy, time-consuming and nerve wracking tile installations with grout or glue.