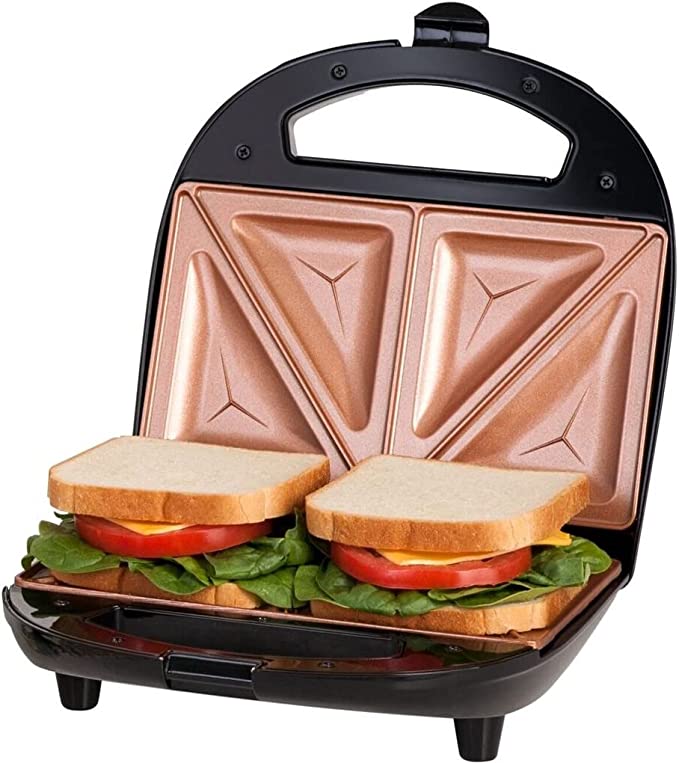
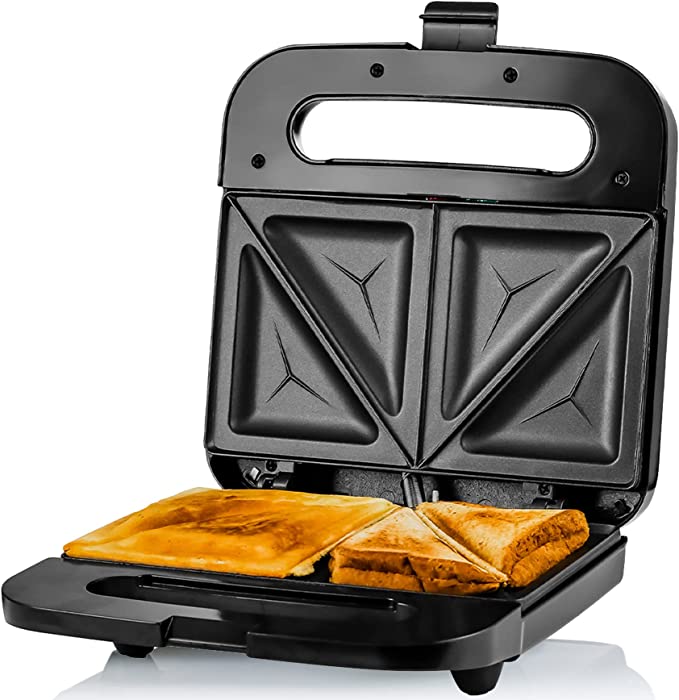
Ovente Electric Easy to Clean Nonstick Sandwich Maker
Last updated: June 12, 2023
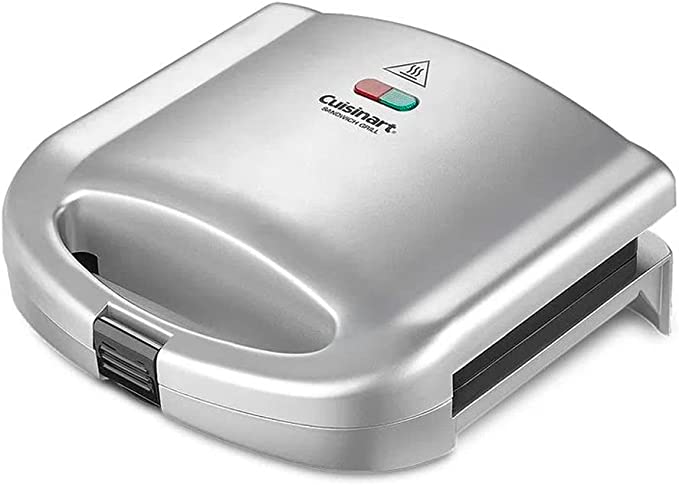
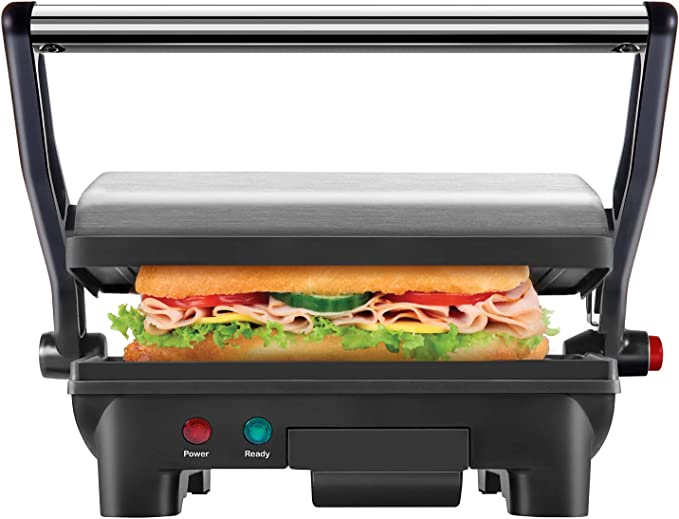
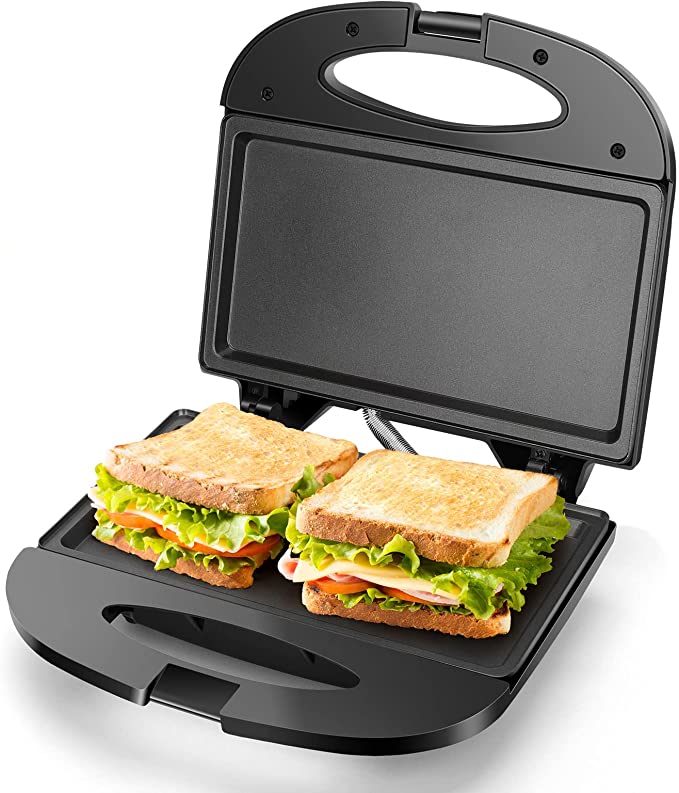
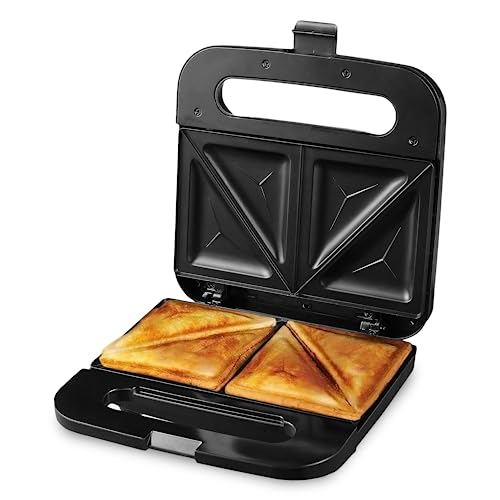
Able to cook four triangular sandwiches, this maker is ideal if you worry about taking up a lot of counter space. It cooks your food quickly and has handy safety features. You can use it for other foods as well.
We looked at the top Sandwich Makers and dug through the reviews from some of the most popular review sites. Through this analysis, we've determined the best Sandwich Maker you should buy.
Product Details
Key Takeaway: This maker is powerful enough to cook sandwiches quickly and doesn't take up much counter space.
In our analysis of 30 expert reviews, the Ovente Electric Easy to Clean Nonstick Sandwich Maker placed 5th when we looked at the top 11 products in the category. For the full ranking, see below.From The Manufacturer
Quick and Convenient – Fast-heating element provides even heating and toasting, and indicator lights let you know when it’s on and ready for cooking. Hassle-Free Cleaning – Non-stick coating makes this grill easy to clean! Versatile – This sandwich maker can also make sunny-side-up eggs, omelets or French toast! Maximum Safety – Made of heat-resistant stainless steel with anti-skid feet to prevent accidents. US-based Customer Service lets you buy with confidence. Ovente warranties that the product shall be free from defects in material and workmanship under normal use and conditions, for 1 year from the original purchase date.